Above Ground Swimming Pool Installation
Pool Installation Photos
The photos below are a quick overview of an above ground swimming
pool installation. All pool models are different as are the yards they are installed
in. These are the basic steps that should apply to all pools and yards
without being model specific.
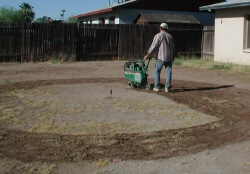
The first photo shows the vegetation being
removed with the use of a sod cutter. When all the vegetation has been
removed and the ground raked it is time to check the level.
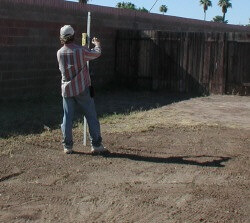
This is me holding the receiver end of my laser transit. I then use the sod
cutter again to loosen the dirt from the high areas. I move the dirt into
the lower areas and pack well with the sod cutter.
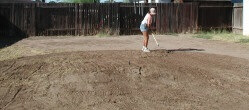
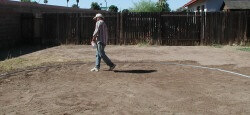
Now the entire area is
raked smooth and is ready to install the above ground pool.
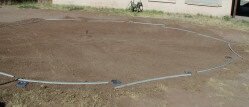
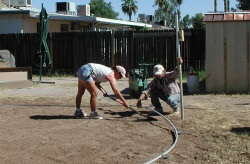
This photo shows the bottom rail and foot plates passed out.
I then
use a tape measure and work my way around the pool connecting the rails and
placing them in a perfect circle. With this done it is time to use the
level again.
Make sure all the plates are individually leveled, as well as
the ground underneath the rails. This step is extremely important.
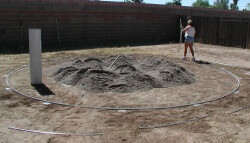
Before I bring the sand in I treat the ground with vegetation killer.
The sand is then piled in a circle near the center of the pool area. Do
not spread the sand out at this point.
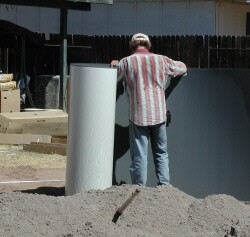
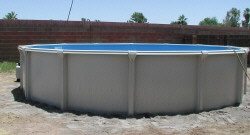
As the wall is being installed it is important to install some of the pool
frame at the same time. Sometimes we use the pool uprights and top rails
or in this case we are using the interlocking rods.
The walls will not
stand up by themselves so some framework is needed. This is one of most
common mistakes people make when doing an above ground swimming pool
installation, they let the wall fall down.
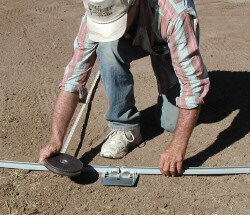
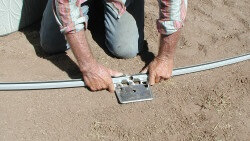
When the pool wall is back to the point you started you may have extra wall
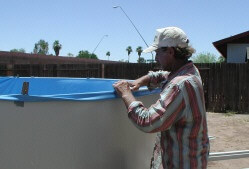
or maybe not enough. Notice the close up view of me adjusting the rail gap
at the bottom connector. Make any needed adjustment over several different
connectors in order to keep the rail gap uniform.
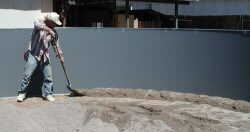
Only when the wall is
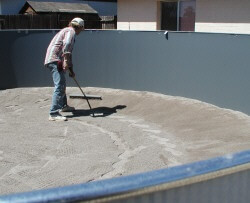
bolted together and secure with rods or pool frame do I start spreading the
sand. I start at the outer edge with 6" cove and then a uniform 2" over
the rest. I then smooth the entire area with the flat side of my rake and
follow that with a large broom.
Once the sand is completely smooth I will
not be back in the pool again. The pool will be completely full and the
sand well packed before anyone is inside.
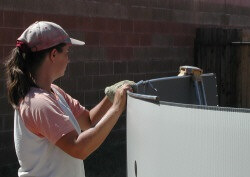
From the outside of the pool we drape the liner over the wall. If we
have used the pool framework for structure we use plenty of duck tape to cover
any sharp edges. Using the interlocking rods, as in this case, we hold
them in place with tape. Also tape the nuts and bolts on the outside of
the wall to prevent tearing the liner. The liner is pulled over the wall
until the bottom is laying smoothly on the inside. This method will keep
all the wrinkles out of the pool. As the pool fills we lower the liner
until the water is out to the edge of the pool.
At this point turn the
water off and put the liner in place. We work around the pool just a few
rails at a time so the pool wall will not blow down.
With this done add a foot or so of water before you install the skimmer and
return. Finish filling and jump in. These steps are the basics for
an above ground swimming pool installation.
We do pool and liner installations all over the state of Arizona. Check here for prices.
Below are some more of my illustrated installation pages with plenty of help and advice.
Oval Pool Installation
Diamond Star Above Ground Pool
Atlantic Above Ground Pool
Oval Pool Deep Ends
Diamond Star Installation
Quest Oval Pool Installation
LX Oval Pool Review
Aqua Leader Installation
Above Ground Pool Liner Installation
Above Ground Oval Installation
Expandable Liner Installation
Above Ground Pool Deep Ends
If you have pool installation questions be sure to visit our
Ask the Pool Pro
pages.
AGP Pool Help -
Everything on this site about Above Ground Pools
top of Above Ground Swimming Pool Installation
