How to Build Wood Awnings
Do-It-Yourself Awning Tips
These are photos of a basic wood awning as well as some tips for how to build wood awnings. This wood awning is built next to a modular home. Our area building codes require that the awning not be attached to the home. In the final out come you would not know it is not an attached cover. These are photos of the project after our wood patio cover was installed. Next, the dry wall crew came in and hung the ceiling. Then the entire unit had stucco applied. After the stucco, the painters came in. We left the roof bare OSB. The roofers came and installed felt paper and shingles to match the roof of the home. The wood awning has now become tied into the home and does not look like an add on.
You may click on these images for a larger view.
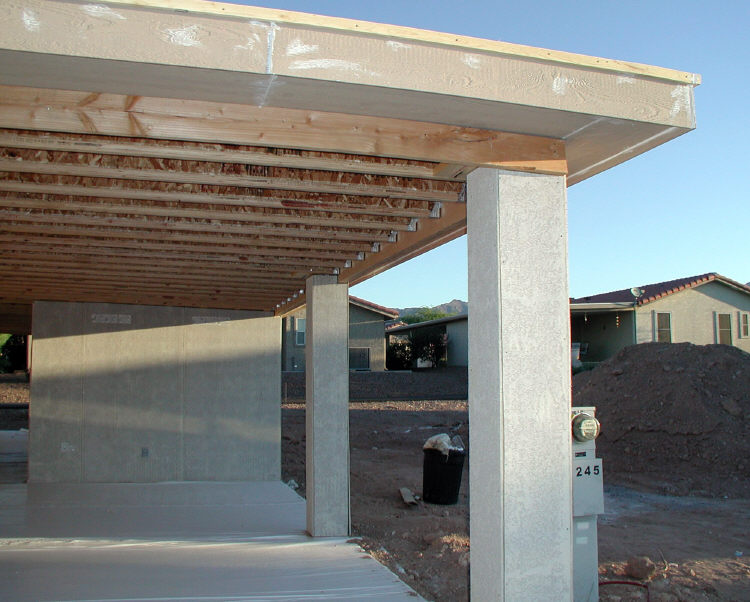
This front view shows the fascia board installed to blend into the home. The only thing different here from an attached wood awning are the beam and posts next to the home. Once these have stucco and paint they are hardly noticed. On a residential home the header board and rafter hangers can be attached to your existing framing.
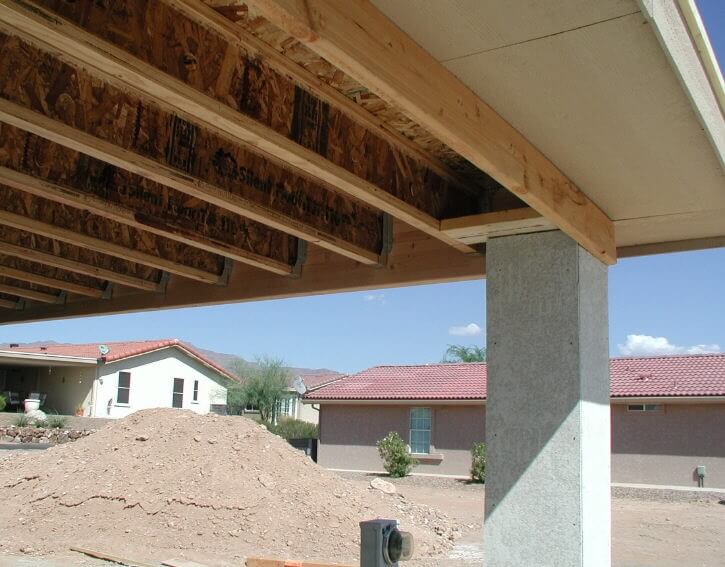
The outside of this wood awning is set the same as the home side. We use gluelam beams set on 4 x 6 posts. These posts have been 2 x 4 framed and covered with Hardie board. This adds a lot to the looks of the final product.
The soffit was built separately and attached after the wood cover had been built. The 2 x 4 at the top of the posts is for the purpose of attaching the drywall.
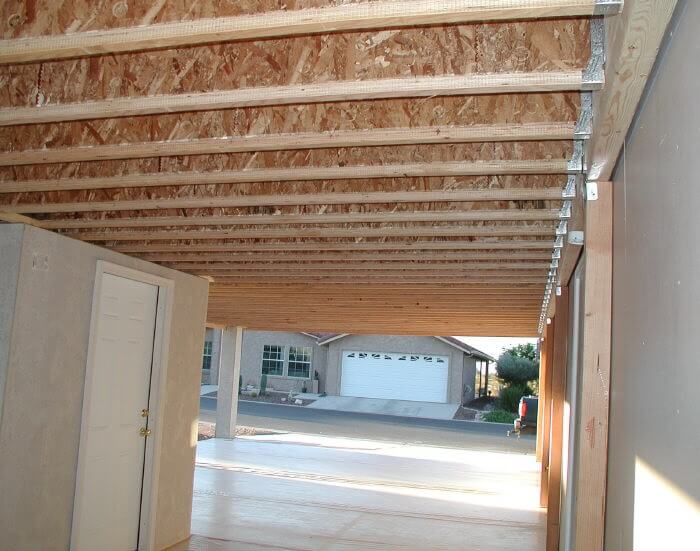
This shows the beam, rafters and rafter hangers on the side next to the home. On the left is a shed that has been framed and sided. This will also get textured and painted to match the home.
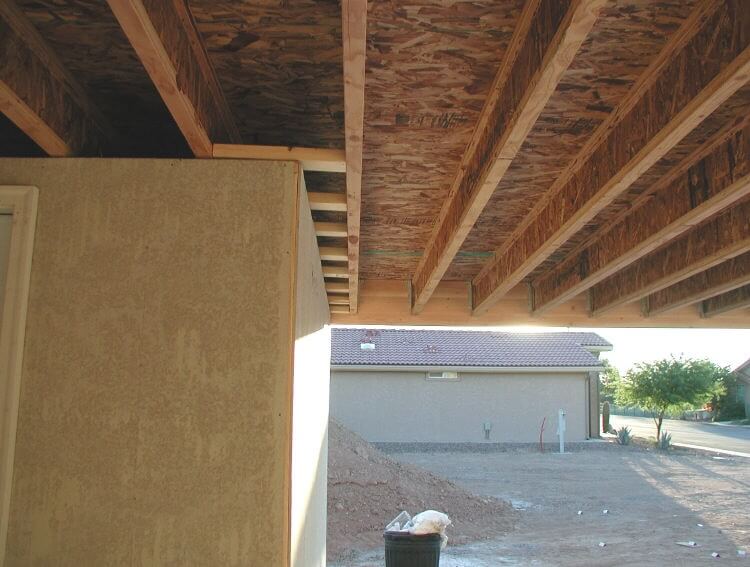
This is another view from the underside. The 2 x 4's over the shed are also for attaching drywall.
This should give you a better understanding of how to build a wood awning. For more how to information see our building plans page. You may also find this page about do-it-yourself patio covers useful. Let us know if you have a project you would like a bid on. The estimates are free.


Would you prefer to share this page with others by linking to it?