LX Oval Pool Review
For 50 some years I have been traveling the state of Arizona installing above ground pools. This job took us to Yuma. Another long day and a happy customer.
This is 15 x 30 LX Oval Above Ground Pool. It's the salt water version of an Aqua Leader, by Wilbar, pool. These are popular pools purchased from the Pool Factory online. Here we will take a look at some of the installation steps for an oval pool and my comments.The overall quality of this pool is about as good as it gets. Everything is solid and fits the way it should. The bottom rails are plenty big enough to firmly hold the pool wall. The service panel is a nice addition, especially if you are using salt water.
This page covers the oval part of this Aqua Leader pool. Round pools are a lot easier, the ovals take a lot more time and attention to detail. Follow the instructions to assemble the brace assemblies, these photos show how I set them. While not exactly according to the instructions it combines my many years experience and modifies the manufacturers directions just a little, only because I know exactly what works and what doesn't.
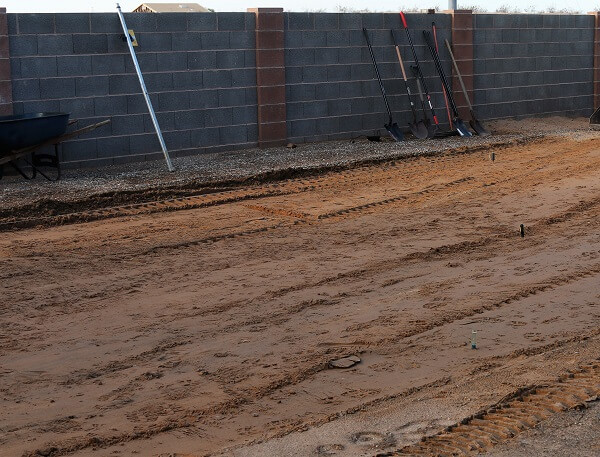
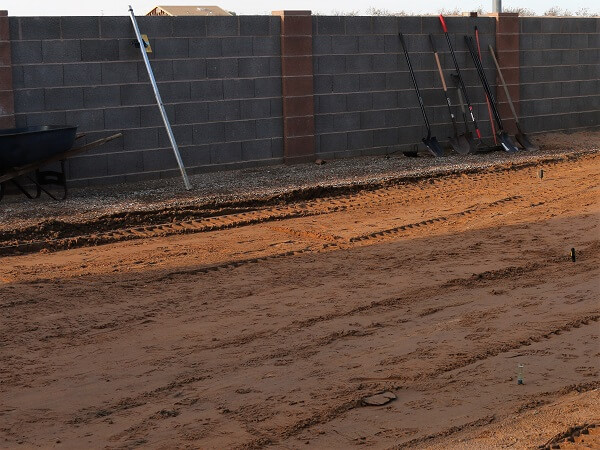
I start with a very simple layout of the pool size. I stick a screwdriver into the ground at each end of the 30' length and one in the middle at the 15' mark. I do the same side to side. I now have 5 screwdrivers marking the pool area giving me a good overview of the pool footprint. Next I set up the laser level and check the pool side to side and end to end, now I can get the pool area leveled to within an inch. When leveling I start by going beyond the pool size by a couple of feet in all directions. At this point the only screw driver I need is the one I set marking the dead center of the pool. Everything else is done off of this point.
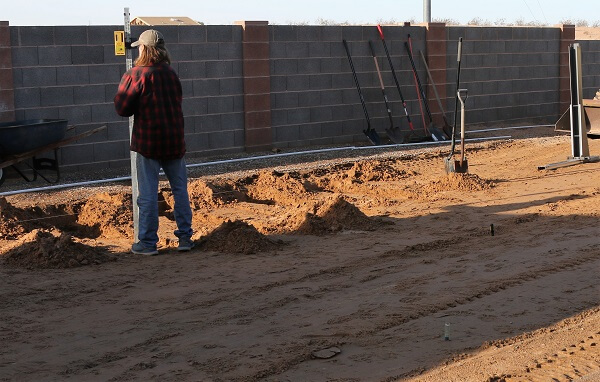
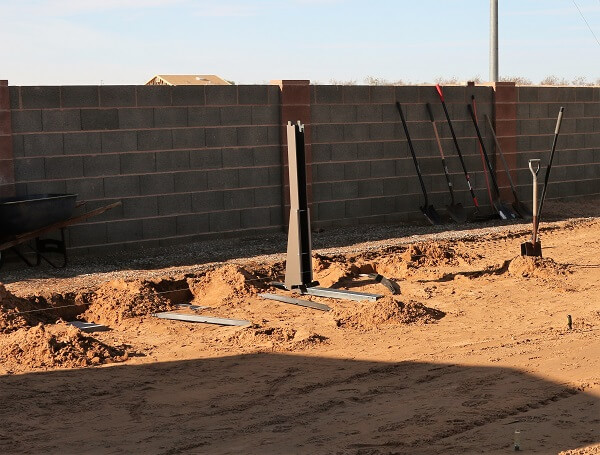
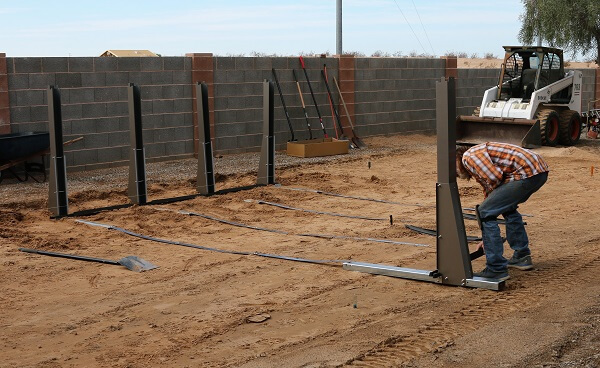
With the ground level I want to start setting the side braces. I have measured off the fence and set a couple more screwdrivers into the ground and a attached a string line to them. Two things to note here. The ground is level but not real smooth, most of that gets done after the side braces are set. There is a lot more digging to do, back filling, clean up and fine tuning the base smoothness before bringing in the sand. Second, I try to find something to square the pool off of. In this case the fence was perfect. I started in the center and measured 7"6" from my screw driver to the side, from that point to the wall. That gave me the distance to set the string line.
I now have everything I need to start setting the braces, I have the first side marked out, I know the center of the pool and I know where all the braces need to line up.
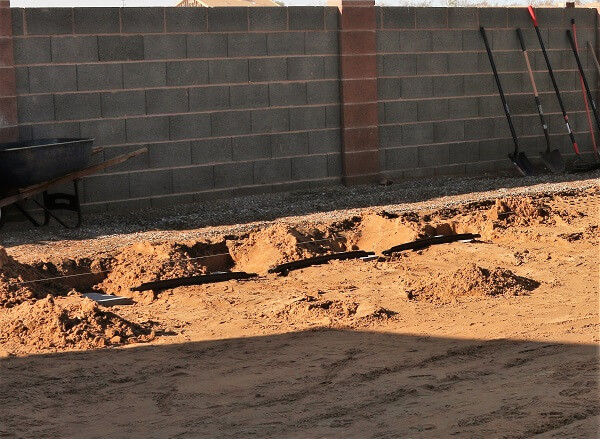
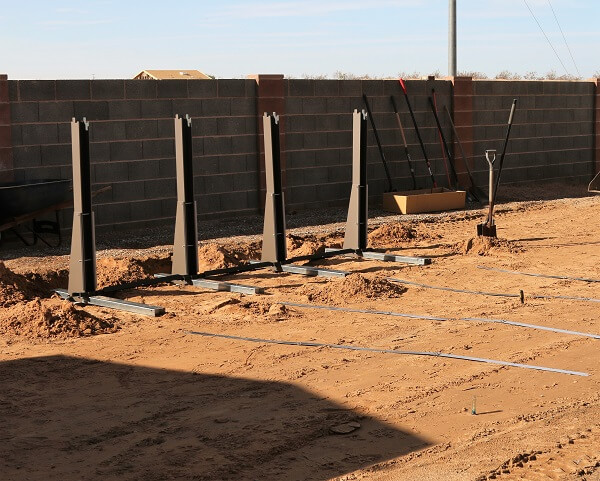
This pool has four braces on each side that sit about 41" apart, center to center. My center screwdriver will show me the center of the two middle braces. Knowing that and using the string line I can begin to dig the trenches. There is a block set in the back of each channel. The top of the block and the trench itself need to be exactly 2" below my pool grade level.
I have used the side bottom rails to check the distance between my trenches and I am ready for braces. I only do this because I have done this pool hundreds of times before and I have a helper putting the braces together so they are not ready for me yet, that's okay, I don't need them. The way I would recommend you do it is to build all the side braces and lay them out on the side of the pool with the string and insert the bottom rails between them. With all the braces up against the string line the ground can be marked around each one of them. All of that can be moved out of the way and the digging begins.
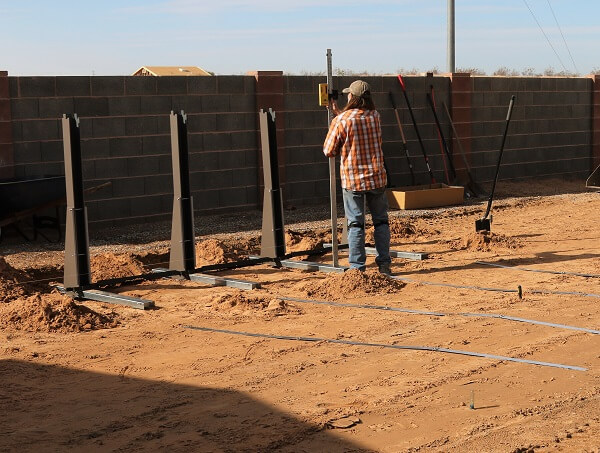
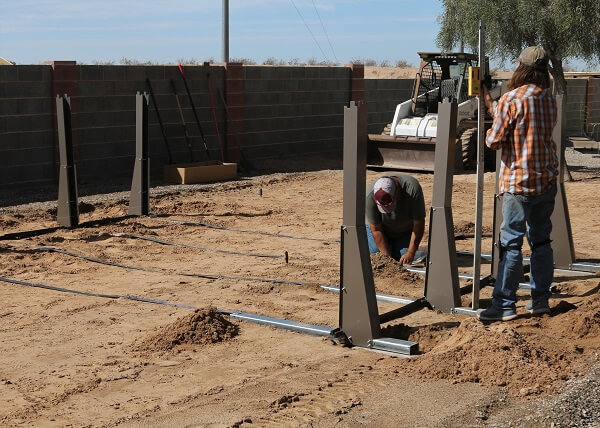
One at a time the braces go into the trenches and lined up with my string line. With the brace in the trench and resting on the block in the rear I double check the level front and back. As shown above I am using a laser level, don't attempt this without one. I want to add a quick note about the bottom rails. The may come in two, or maybe three different sizes, be sure you are using the ones for the side. The other two sizes are usually for the four transition areas from the sides to the round end portions and then all the end rails.
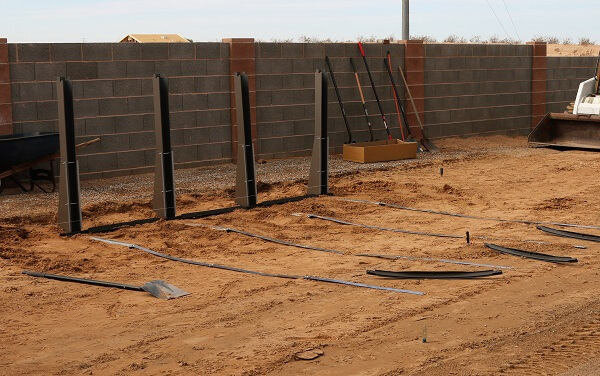
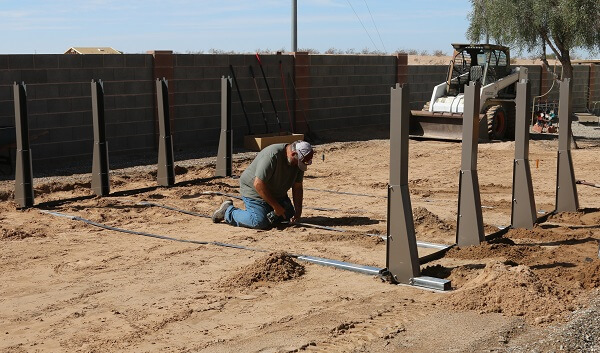
This side is set the way it should be. The bottom rails are connected, the braces lined up with the string and distances at the front of the brace channels are all the same. At this point bolting, or screwing the pressure plates into place, and using the string line would square this side and assure everything is the way it should be. I lam old school here, I know the pressure plates do not need to be screwed down, and if they are, packing dirt in and around the channels becomes impossible. If the posts are barely touching the string with the side bottom rails attached and all the fronts of the channels equally spaced, that's good enough for now.
One more check of the level and this side is ready to fill in with dirt. I cannot stress enough, use a laser level and get this right. Buy one, rent one or borrow one, but use one. I was doing a pool some time ago where the customer had been working evenings for a week trying to get the area level. He said that was the only time of day he could see the laser beam hitting the leveling rod he was using. When he saw my receiver unit he was amazed, "so that's how you do it". Yes, with a receiver you can laser level all day.
With this side packed solid I begin laying out the other side. I am using the bottom rails as spacers and the straps to get my correct distance across. Make sure you have assembled the straps correctly. Sometimes they are all the same length and sometimes there maybe three one size and one a different size for each assembly. They all need to be the same length when the connecting straps are complete.
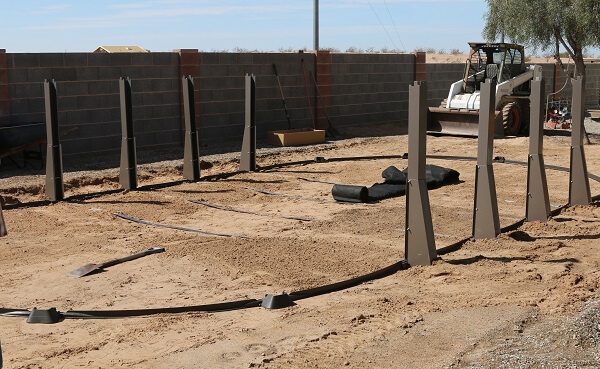
When the first side is in place I square with the other side and mark where the trenches need to be dug. Doing this is a bit time consuming but worth the effort. I will set the braces in place and loosely connect all the straps. This sets the required distance from the other side. I am not using a string line on this side, just the straps. Then all the bottom rails get set into place. Now I will square this side with the other side by measuring corner brace of this side to the opposite corner brace on the other side, then reverse corners. Corner to corner should be the same measure. Now the trenches get marked around the braces and everything moved aside and the digging begins.
The trenches are dug, I am double checking level while the straps are being connected and all the bolts tightened. I leave all the strap bolts loose until this step. It is easy to tighten them earlier only to find out they are not straight. With everything square, straight and level they get tightened and all the backfill begins.
The backfill around the braces is almost done and the hard part of installing an oval pool is done. William is still tightening the strap bolts and the trenches need finished but yes, the hard part is done. Everything else we do this day is the same as we would do for a round pool. Well, almost everything. I will get to that later.
Here the end rails have been connected and laser leveled at each footplate and the pool is ready for a sidewall. Normally this is the point where we open up the ground cloth and wheel barrow the sand into the pool area. In this case we were going to use the Bobcat and dump the sand in over the top of the wall. The biggest difference in the way I do things is my use of the pressure plates, note that at this point they have not been used. I lay them out under the grand cloth and just before the sand. And as far as the ground cloth, I love them under the sand, not on top.
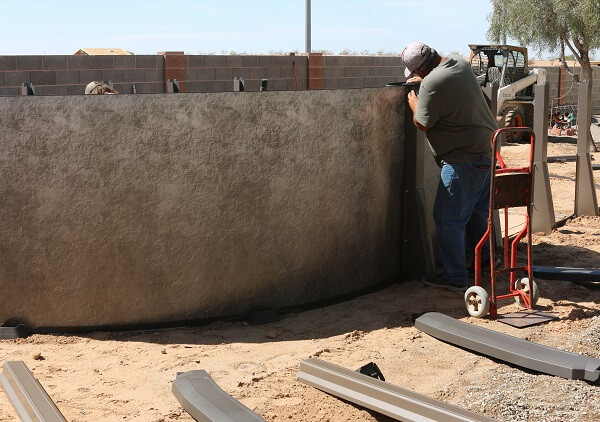
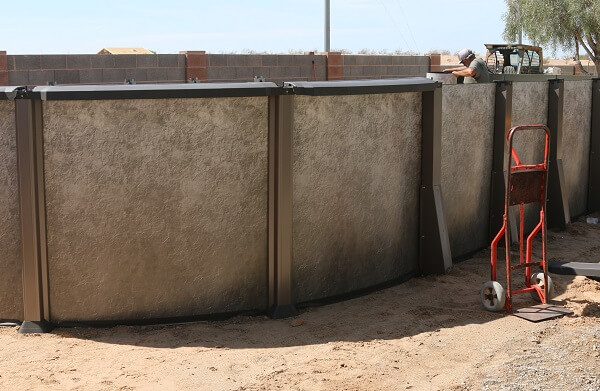
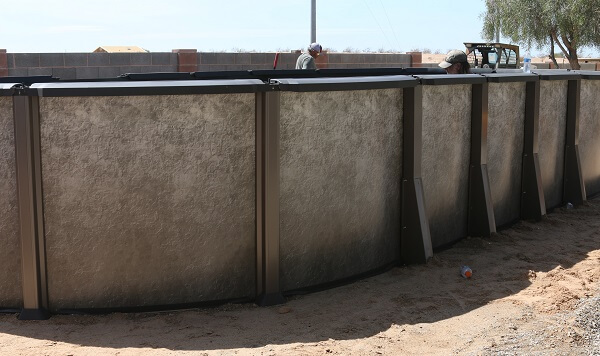
This is the wall going up and the pool being assembled. Never, ever do we have a wall completely installed without support. They blow over too easy.
We assemble the uprights and top rails as the wall is going up, this gives the wall the support needed to keep it from blowing over.
I can also determine all the parts fit the way they should and that all the corner transition rails are uniform. I recommend any one installing an above ground pool to build the whole thing at this point. Make sure all the parts fit and that you have all the parts you need to finish the job. Make sure everything is perfectly level. I mentioned earlier about oval pools being different at some point. Before any sand is spread out I make sure all the pool round ends are the same. I want straight sides and the arc at each end the same. With the pool assembled I want everything perfect before we go any farther.
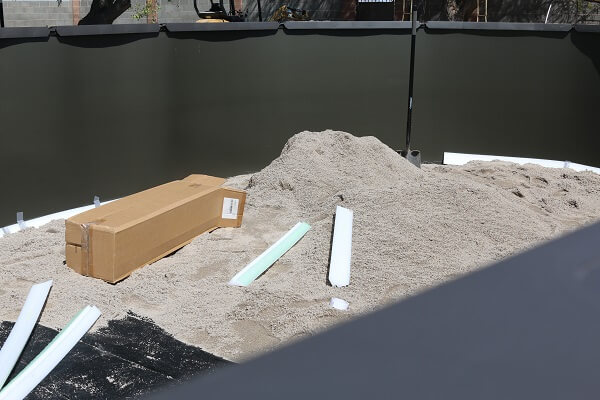
While the sand is being brought in the foam cove is being installed. If we had brought the sand in our usual way, with wheel barrels, the sand would be lined up in the center of the pool from end to end, a good distance from the side rails. This allows for an easier installation of the pool wall and everything else we may need to do before we are ready to use it.
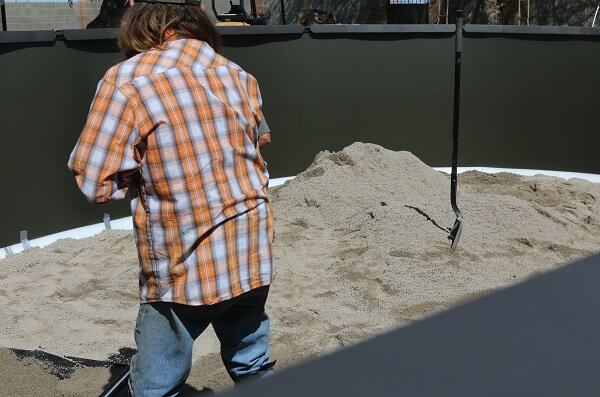
The sand is being spread and then it gets smoothed and it's time for a liner. That's for a different page. As always, this pool turned out perfect.
Check Pool Installation Prices for our above ground pool installation and liner installation prices in Arizona.
Below are some more of my illustrated installation pages with plenty of help and advice.
Oval Pool Deep Ends | Quest Oval Pool Installation | Diamond Star Pool Installation


