Diamond Star Installation
Finishing Our Oval Pool
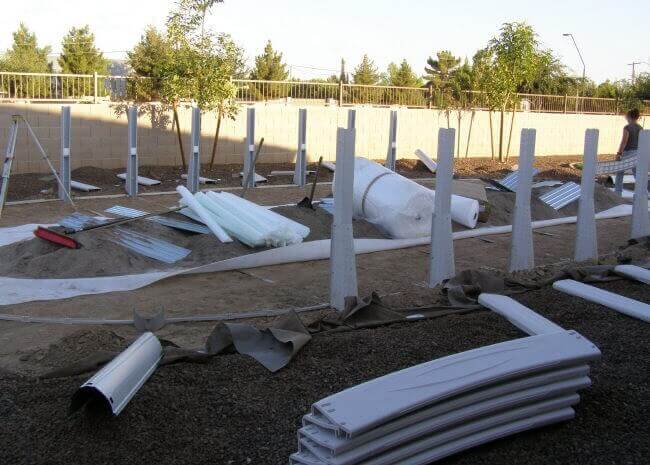
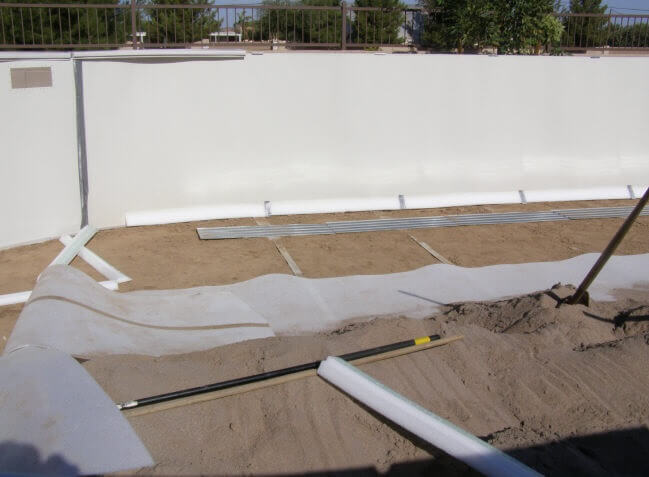
The start of our Diamond Star Pool by Wilbar Installation is here Diamond Star Above Ground Pool. On this page we will complete the job. All the photos can be enlarged by clicking on them.This photo shows how things look just before we start to unwind the wall. The top rails still need passed out but everything else is in place. We have our sand in the center of the pool as well as the pressure plates, foam cove, pool cushion and shovel, rake, and broom. The wall is in place in the area the filter will be located and the tripod is ready to hold up the end when I start unrolling it.
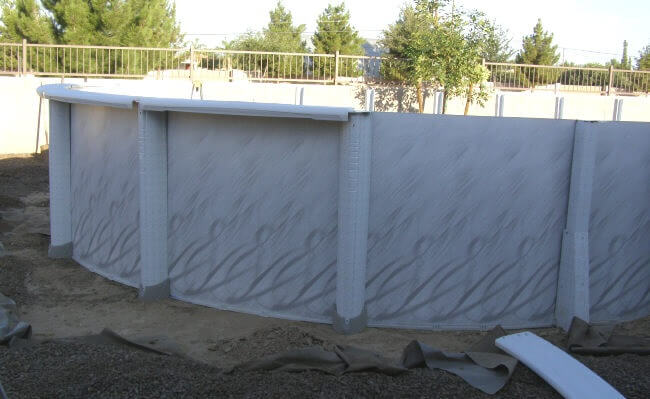
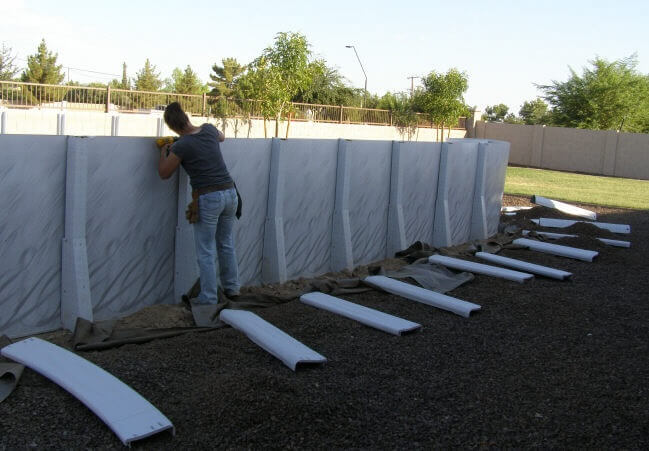
As the sidewall goes up so do the uprights and top rails. There are never more than a few sections of wall up at any time without the pool structure for support.
The wall on the pool sides will fall over easier than on the ends. Every time I pass an upright, a top cap gets installed on it, to hold the wall. The sides do not need rails immediately like the ends do, the top caps hold the wall just fine.
This photo shows the pressure plates in place and the foam cove being installed. The wall has been bolted together and covered with duct tape.
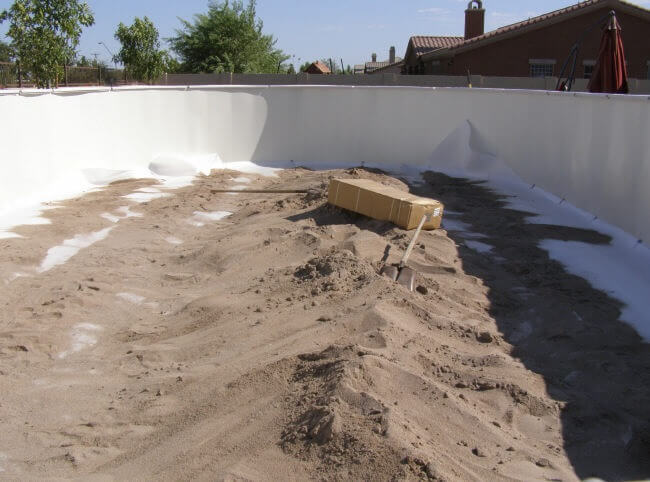
The sand is now being spread out over the pool pad. Pool pad can be used over, or under, the sand. This pool came with the pad or I would normally just use sand. Putting the pool pad over fresh sand leaves the pool bottom full of footprints so I used it under the sand. I like using the pool pad over hard surfaces like tile, concrete or a sand base that has been under a pool for many years and is well packed. In this case the pad allows me to use less sand and not have to worry about dirt clods getting into the sand and showing under the pool liner.
There are many ways to install a vinyl liner. My preference is explained on my liner installation page. It involves stretching the liner over the assembled pool structure and letting the water smooth the wrinkles out. Installing liners this way gets rid of all the wrinkles and it allows the sand to stay free of footprints. Once the sand has been smoothed it never gets stepped on until the pool is full and all the water has packed it down.
This Diamond Star Installation presented a couple of challenges. It has tile around the top and it was a j-hook liner. Tile print around the top of a vinyl liner, to me, is ridiculous. It looks terrible when it is uneven but, on the other hand, there are far more important considerations to the liner installation process than keeping the tile at the top even. Keeping the bottom and the sides smooth are far more important factors than an even tile pattern around the top.
For this Diamond Star installation aligning the liner perfectly in the pool before starting the water was critical. J-hook liners have no extra liner to pull over the side like an overlap liner would. An offset liner would cause too much liner in some areas and not enough in others. Pulling the liner over the rails evenly and letting it down evenly are also important elements to a perfect install.
Because of the extra time spent setting the liner straight, and working with a perfectly level pool, this liner installed perfectly. When the water is near the edge I started removing a few of the top rails and made my final decision as to whether to use the j-hook or install the liner overlap.
Beaded liners have a tendency to be baggy on the sides, so if I can pull the liner over the wall to snug it up, that's what I do. Had the liner not been perfectly centered I would have pulled some of it over the wall more than other parts. This would have kept the sides wrinkle free but made the tile uneven. Careful planning, and a little luck, allowed me to pull the liner over the wall the same distance all the way around, keeping the tile perfectly even.
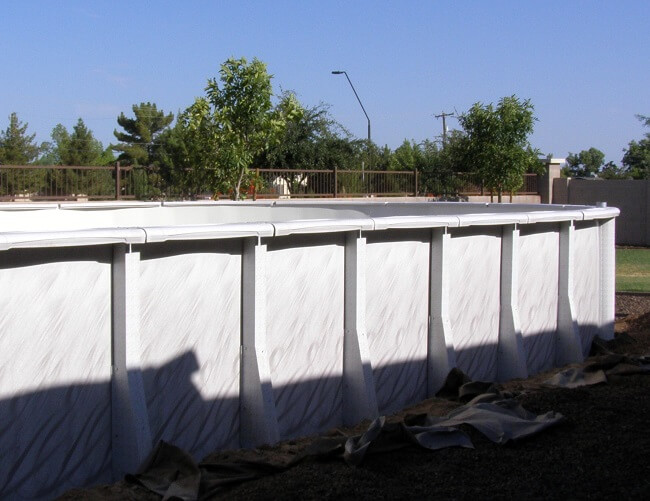
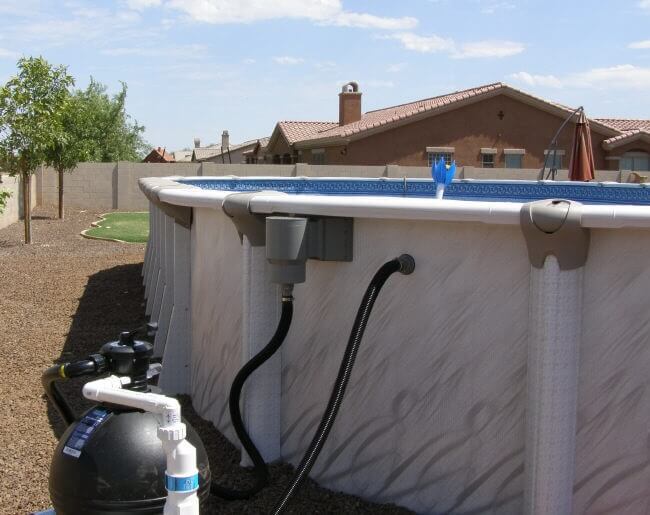
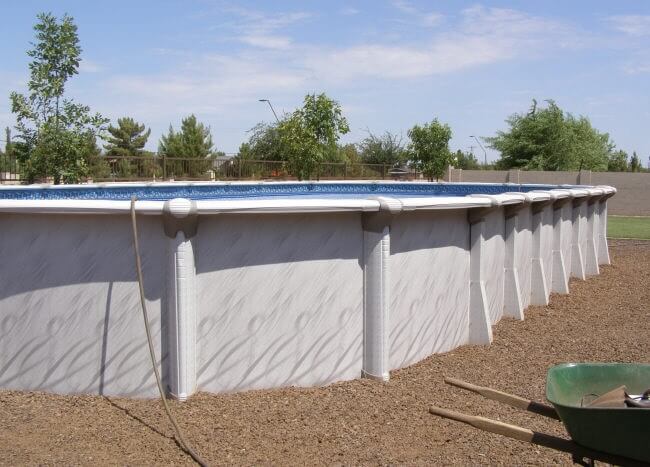
This photo illustrates a basic filter setup using the skimmer and return openings that were present on the wall. It also illustrates a perfectly straight side and level top rails. Not enough emphasis can be placed on using a laser level and making every part of the pool perfectly level. Combine that with using a string to set the sides straight and the end result is as near perfect as possible.
Another key factor to building the perfect pool is putting the entire pool together before you put the liner in. No matter how you plan to install the liner, this step is important. There are so many advantages to doing it this way. Having the top rails in place you can see exactly what the pool needs to make it perfect. Without water in the pool you can easily make changes at this stage, well, maybe not always easily, but this is the time to make them, not later. Closely examine the pool. Do you have a post that sits too high, or too low? Are the sides perfectly straight? Are the ends set the same? Are all of the transition corners set at the same angle? This is very important, and again, stresses the importance of building the framework at this early stage. Look down the sides of the pool, the transition rails, the ones at the four corners, coming off the side braces into the round ends, do they all look the same? Some transition rails come off the sides straight and some at a slight inward angle. Either way all for corners should be the same. Spend as much time as you need to make this "dry" pool perfect before you proceed with the base, liner and water.
The Diamond Star Installation was a complete success and we have another satisfied customer.
We do pool and liner installations all over the state of Arizona. Check our prices here.
Below are links to some more of my illustrated installation pages with plenty of help and advice.
