How to Install Vinyl Siding
Do-It-Yourself Vinyl Siding Tips
How To Install Vinyl Siding
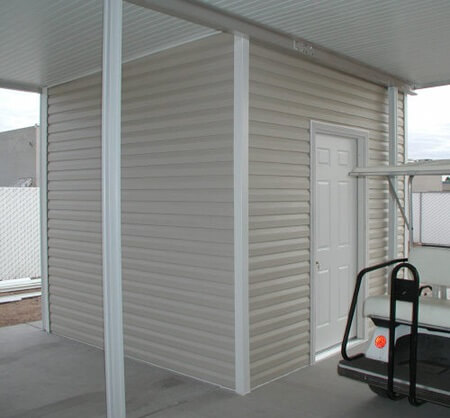
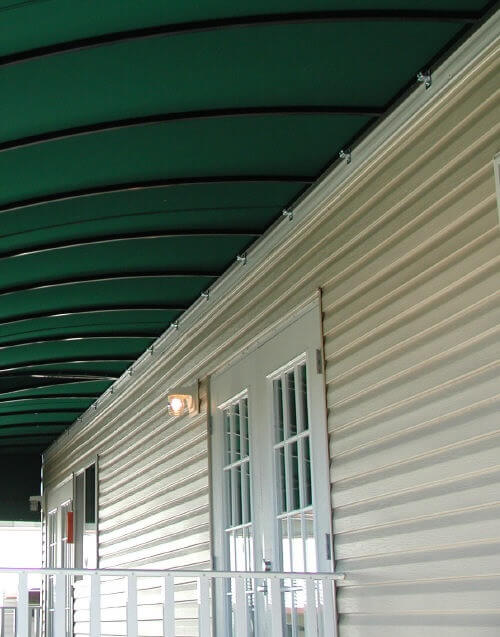
Vinyl siding can be installed on houses, park models, mobile homes, sheds and many other types of structures. The maintenance free features of vinyl makes it a very popular siding.

The first step when installing vinyl siding is to wrap J-channel around all of the doors and windows. Now is a good time also to install J-channel on all the upper areas where the top row of siding will end.
The corners are next to be installed. Vinyl siding corners are best to use wherever possible. J-channel can be used anyplace a wall ends and a corner will not work.
Vinyl siding is installed from the bottom up. It is extremely important that the first row is level. The bottoms of the first row may need to be trimmed so that the tops are all level. Make your cuts a precise as possible so the bottoms are flush with the ground.
I cut my siding with three different tools. I use my tin snips a lot for short cuts. For longer cuts, going the length of the siding, I use a utility knife. If I am cutting multiple pieces to a certain length I use a skill saw with a plywood blade.
The second row snaps into the first and is secured at the top with a few nails. Vinyl needs to contract and expand with the temperature so do not over tighten the nails. On long walls where multiple pieces of siding are used in each row be sure and stagger the joints.
When you reach the top you may again have some cutting to do. Be sure and use the clips and crimping tool when attaching the top piece.
If you would like to order vinyl siding and have it delivered to your door visit the Mobile Home Parts Store. You will find great prices and friendly service.
In the Mesa Arizona area give me a call. CR Shades - Dennis Gourley - Sales - 480-935-2848

Would you prefer to share this page with others by linking to it?