The place where all your shade needs are covered
Pole Barn
These Can Be Used For Just About Anything
A pole barn can be the perfect solution for your equipment storage, your horse and livestock shelter, an RV cover or the garage of your dreams. This is an affordable way to protect anything of value.
The design is so versatile it can be left open on the sides to fully enclosed and insulated. Second story living quarters can be created out of a basic pole barn design.
Somewhere in Missouri we are working on a structure of this type. It is kit purchased from the Home-Do-It-Center in Houston and installed by Will Brown Construction. The photos below show some of the steps taken to install a pole barn.
Click the photos for a larger view.
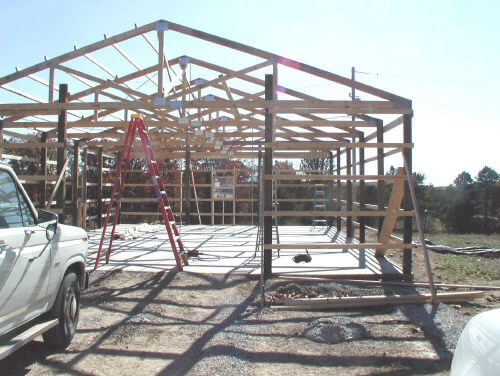
The posts have been set in the ground and the concrete poured. The 2 x 4's have been nailed to the posts and the trusses installed. On the left hand side we have started to install the 2 x 4 purlins. The roof panels will attach to these.
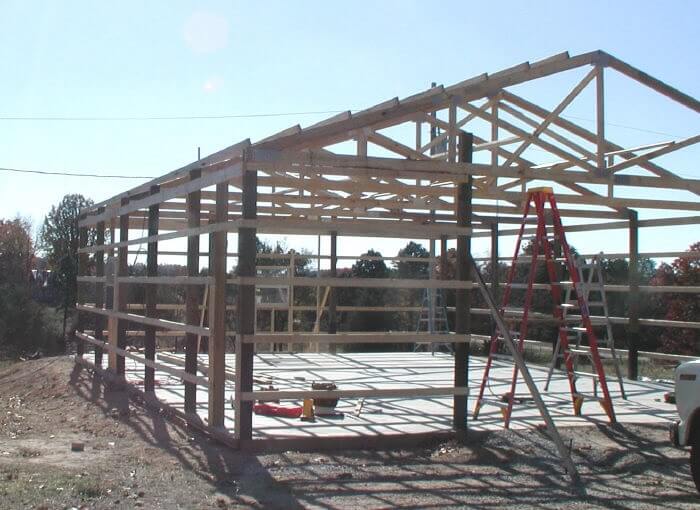
This is a closer view of the initial framing and the purlins.
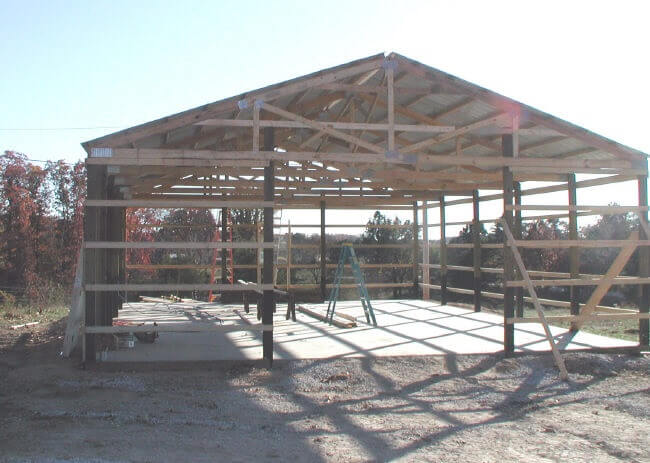
At this point the roofing has been installed and the end trusses have been fitted with 2 x 4's for the siding to attach to. Pay close attention to keeping everything square before and during the roofing panel installation.
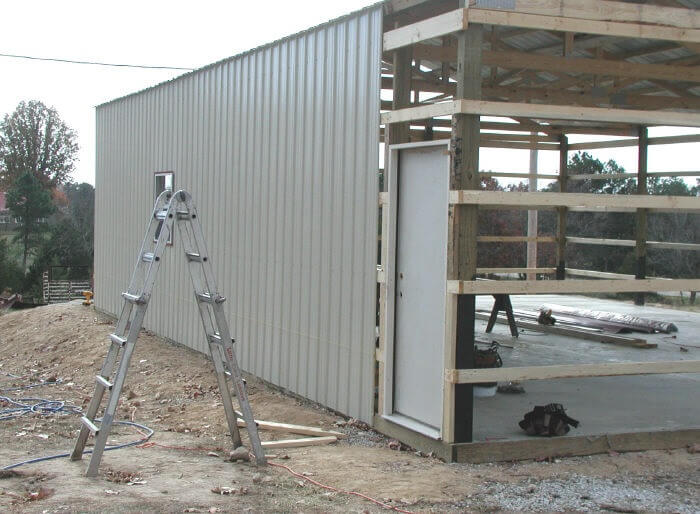
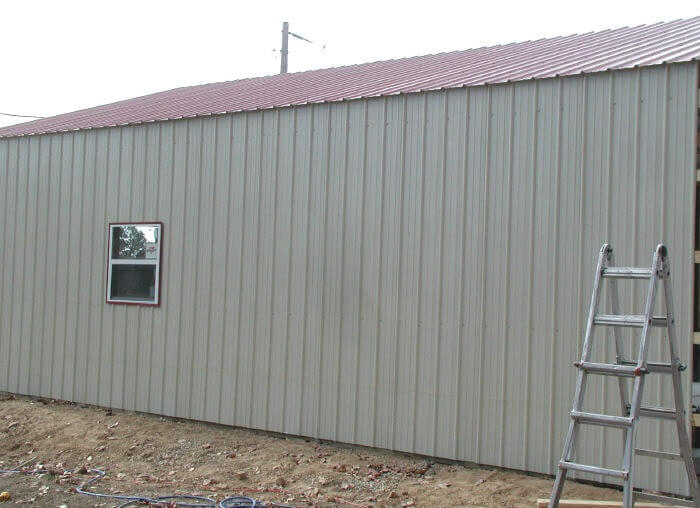
The side panels are pushed up firmly into the roof lining up the same groove pattern. It is again important to keep the panels running square.
All that is left now is the front wall and the sliding doors. An inside ceiling is also being added to this barn.
More photos of this pole barn Installation can be found on this page. Building a Pole Barn
Would you prefer to share this page with others by linking to it?