The place where all your shade needs are covered
Window Awning Assembly
Installation Instruction
We started our window awning assembly on the installation page. Here we will complete the project of installing a flex pan window awning.
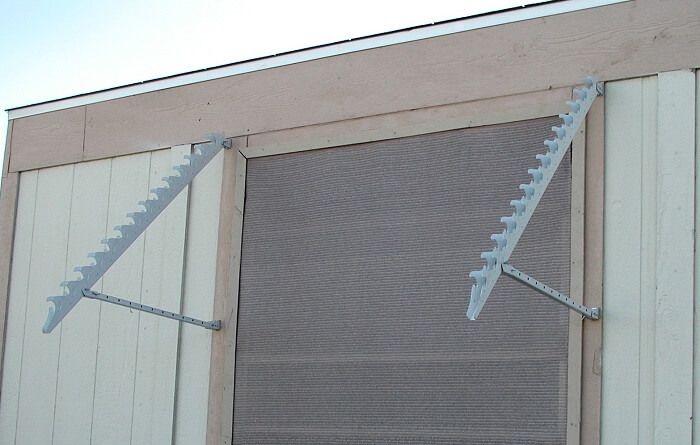
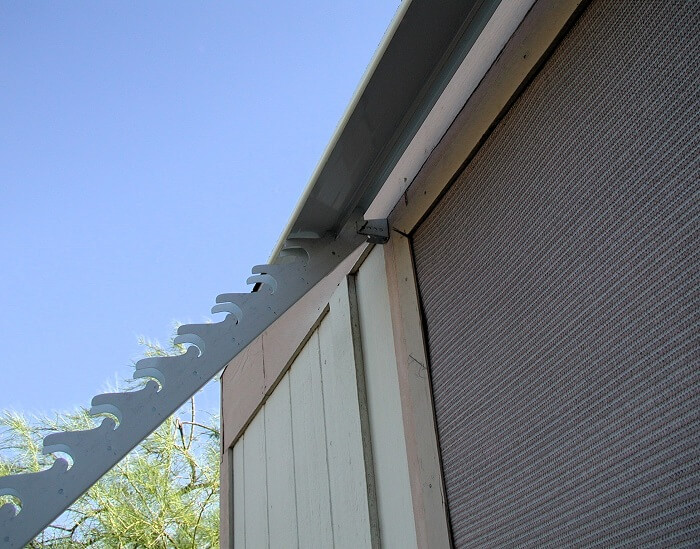
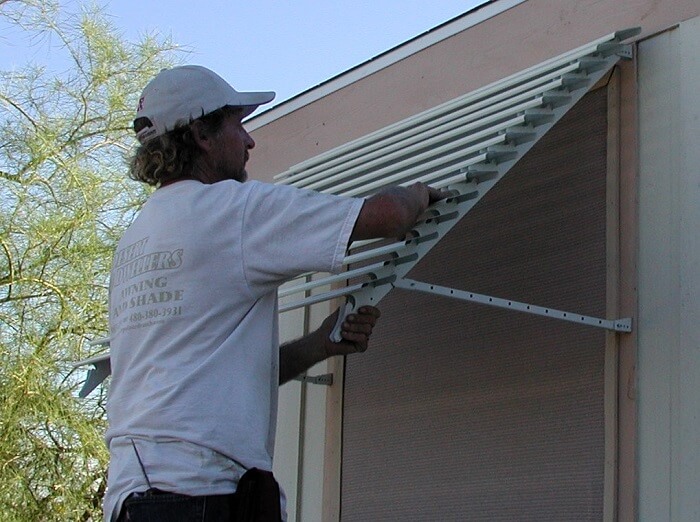
Attach the return arms to the stringers and the brackets on both sides with the last of the cotter pins. Your awning framework should look something like this.Start at the top and lay the flex pans in place. Hook the back side but leave the front unhooked. I will adjust these later, I want them loose for now.
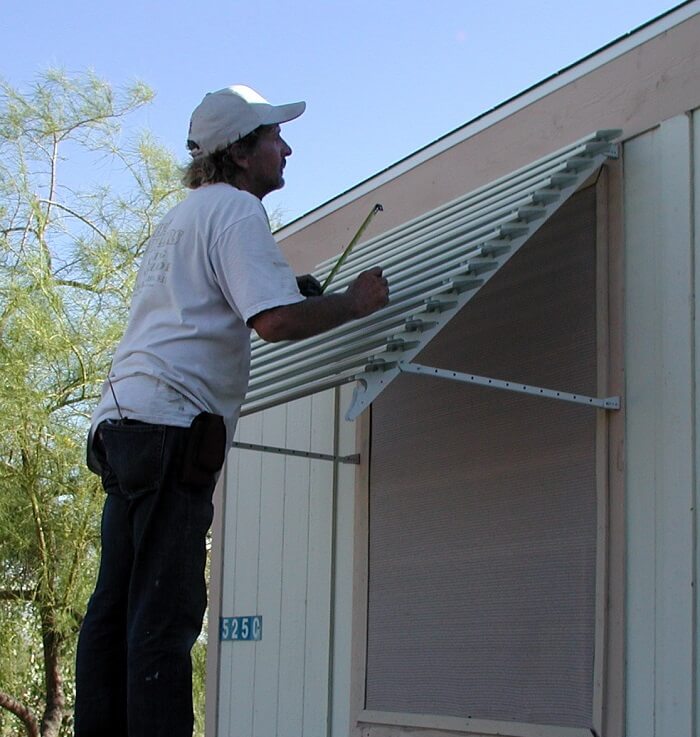
When all but the last flex pan is in place, measure the distance past the brackets at both sides of the top pan. Adjust the pan until the overhang is even on both sides and then snap it into place. Make sure the stringers are straight and then measure the bottom flex pan the same way.
With the top and bottom flex pan snapped into place I take the unused flex pan, the valance pan, and use as a straight edge. All the pans between the top and bottom are still loose and will slide against the straight edge to make the awning flex pans all even.
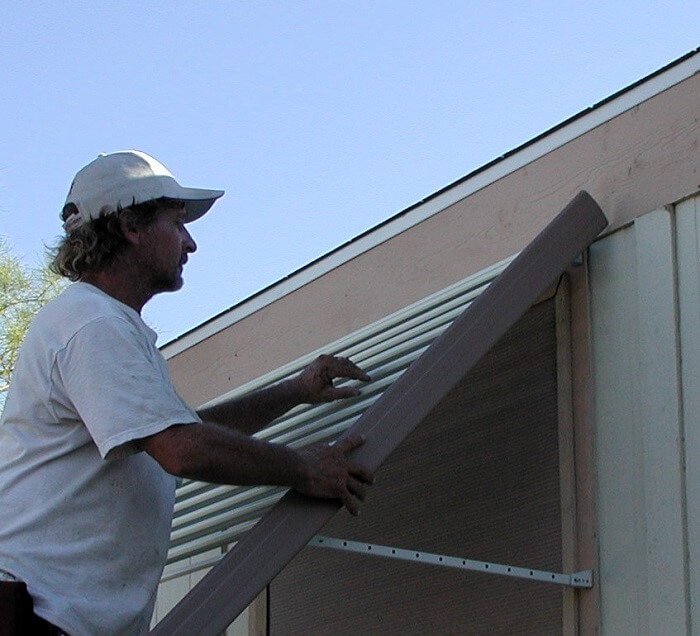
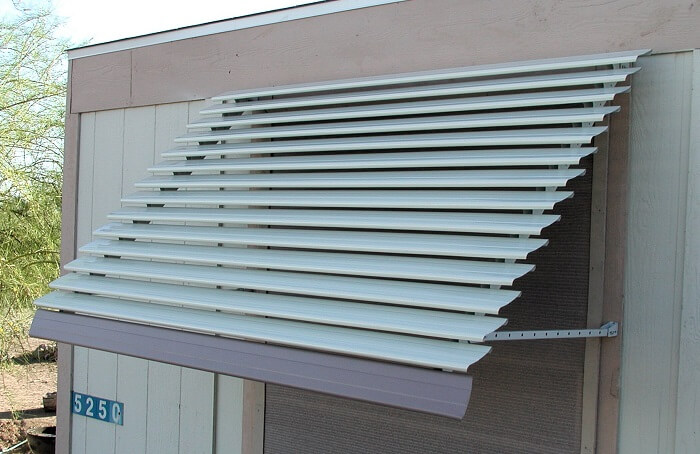
When it is all straight, snap each pan into place, The back side is placed so you just need to pop the fronts of each flex pan place. When both sides are done it's time for the last piece, the valance. I slide this into the valance holder from one side or the other and align it with the rest of the awning panels. It then gets snapped into place.
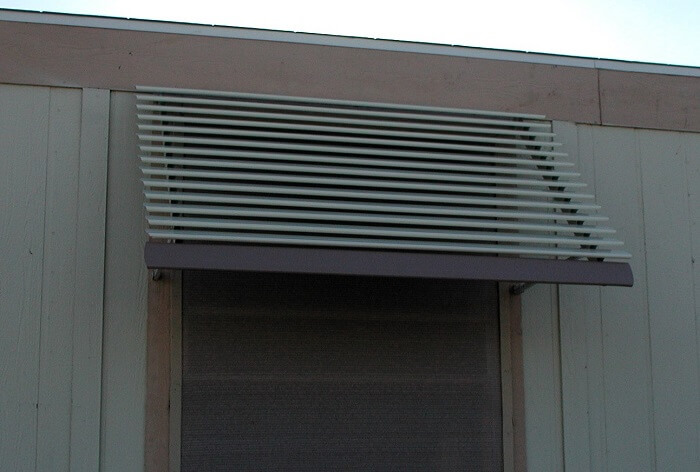
The competed awning is ready to provide a lot of morning shade. Where ever you put them they can provide shade. I this case it was the morning sun they were trying to cut down on. In some cases customers will cover all the window on a west facing wall where the sun is the most brutal during the summer months. Where ever you put them they do the job.
Would you prefer to share this page with others by linking to it?